

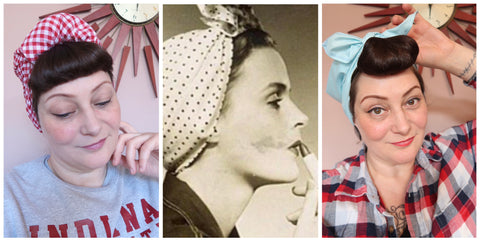
How To Tie A Vintage Headscarf - 3 Looks
 Love vintage headscarves? Well I have a lovely range of scarves launching February 29th, 7pm, that are perfect for styling in a variety of ways making them practical and value for money!
These self-tie headscarves are approx 70cm by 70cm to allow tying in a variety of ways. Follow the steps below to see how you can use them to create 3 styles inspired by the 1940s.
Basic Steps - The first steps to creating a vintage headscarf look.

Step 1:
Fold headscarf into a triangle.
Put the scarf to the back of your head, if you want some hold straight away, add a couple of hair grips.
Tie a knot (not too tight) at the front with the ends.
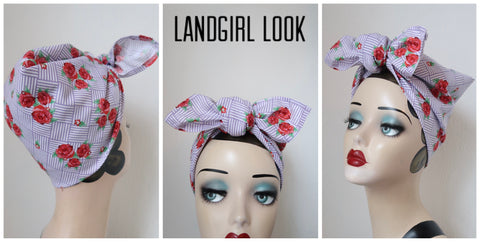
For the Landgirl Knot - A great 1940s look inspired by the type of style worn by Landgirl and factory workers during the war.
Follow Step 1: See above.
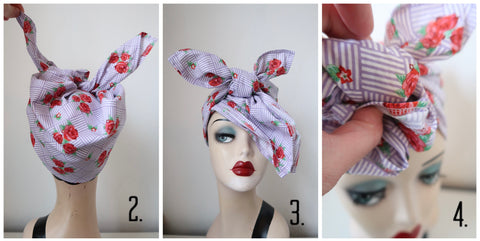
Step 2: Straighten out the ‘ears’ meaning the little fabric ends of the headscarf.
Step 3: Pull the leftover end under the knot.
Step 4: Now fold the leftover end back over and tuck it in securely back under the knot so the knot holds it in place.

For the Neat look - A great vintage turban style for everyday wear.
Steps 1-4: Repeat these steps.
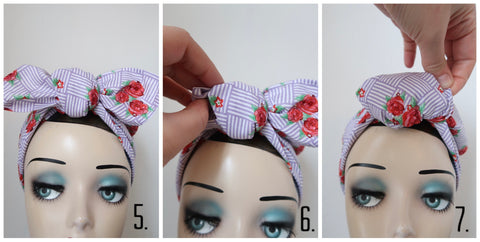
Step 5: Once you have the knot secure, pull out the ears, meaning the little fabric scarf ends, so you have some fabric to work with.
Step 6: Tuck the ears into the knot.
Step 7: Make sure the ears are securely in place and then perfect the front. You can add a couple of grips either side of the knot if needed for extra security.

For the Classic look - I love this look as it’s a true 1940s civilian style.
Steps 1-5: Repeat steps 1-5 to create the neat look and continue on from there.

Step 6: Take the fabric end that’s left sticking out at the front and pull it back over the knot.
Step 7: Tuck it in behind the knot.
Step 8: Fan the fabric out to fill.

Other Looks - There are plenty of other ways to we’re your headscarf.
Triangle: Perfect for covering your curls. Just make the headscarf into a triangle and then tie under the chin.
Headband: Fold the scarf in a triangle and roll it up into a thin headband. Tie the ears up at the top of your head.
Floaty: Works best with my georgette fabric scarves. Do the same as above but tie the scarf at the back of your head and then move it to one side so the ends sit on your shoulder.
Don’t worry if this sounds too complicated as I have my range of pre-tied stretchy headbands and turbans available too.
Thanks. Great ideas.